The Stress Free Cheat Sheet for Event Badges and Tags
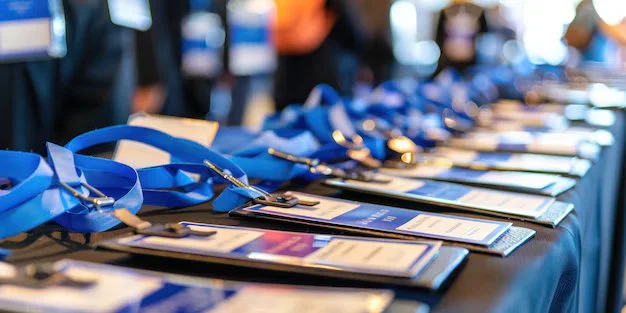
You’re in the thick of it. The venue is booked, speakers are being wrangled, and the catering invoice is making your eyes water. The to-do list is endless. And somewhere on that list, nestled between “Confirm AV” and “Pray for good Wi-Fi,” is the deceptively simple item: “Sort out event badges and tags.”
It sounds easy. But you know it’s a Pandora’s box of hidden tasks, logistical traps, and last-minute panic.
Take a deep breath. You’ve come to the right place.
This isn’t just a list of ideas. This is your project plan, your strategic roadmap for navigating the entire name badge lifecycle, from initial concept to post-event cleanup. We will walk through every single step, ensuring nothing gets missed.

Phase 1: The Blueprint for Event Badges and Tags (6–8 Weeks Out)
This is where you set the foundation for your event badges and tags strategy. Smart decisions here will save you headaches later.
Define the Badge’s #1 Job:
Before anything else, decide its primary purpose. Is it for networking (using large font for first names are key), security (photos/roles needed), or high-impact branding (logo is front and center)? This will inform every other choice.
The Design Plan: DIY or Delegate?
-
The Pain: You’re not a graphic designer, but you’re tasked with creating something professional.
-
The Path:
-
DIY Route: You can absolutely do this yourself. For a deep dive into layouts, fonts, and best practices, our Complete Guide to Event Name Badge Design or free editable name badge templates for PowerPoint, Word or Canva are your best friend.
-
Delegate Route: If time is tight, assign this to an in-house designer or a freelancer. Give them a clear brief based on the badge’s #1 job.
-
If you’re not sure how to go about designing the badge, use this conference name badge lookbook for inspiration
-
Sourcing (The Traditional Way): Juggling Multiple Suppliers
-
The Pain: Realising a “badge” is actually four or five separate products from different places.
-
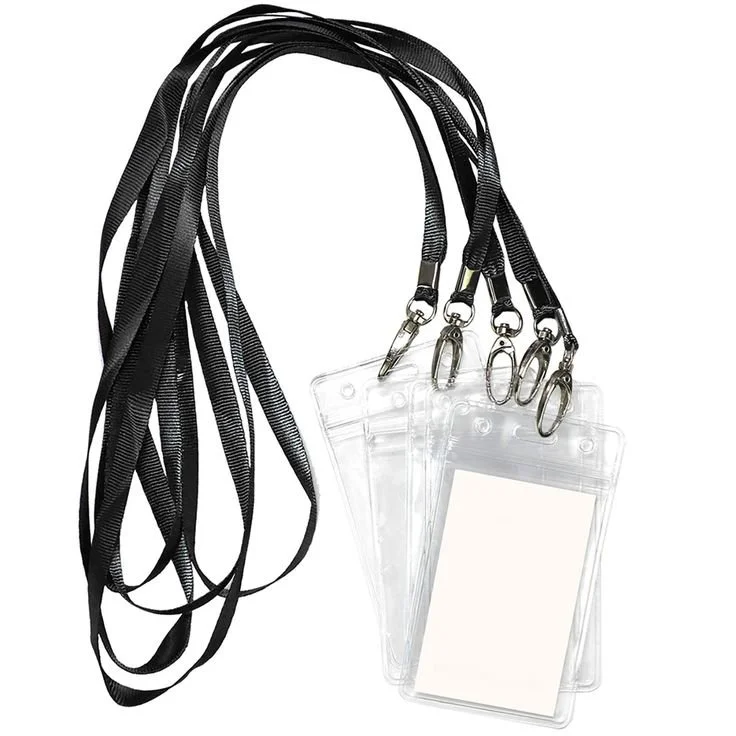
Your Shopping List:
-
The Inserts: The paper or card stock that gets printed on
-
The Holders: The dreaded plastic pockets or sleeves
-
The Lanyards: Sourced from another promotional supplier
-
The Printer: Finding a print shop that can handle custom sizes and small-run mail merges
-
Phase 2: Production & Assembly for Event Badges and Tags
This is the most time-consuming and stressful phase. This is where chaos lives. The production phase for event badges and tags can quickly spiral without clear workflows.
Managing the Data (guest name, job title, organsiation etc.)
-
Your guest list spreadsheet is your most critical document. Ensure it’s perfectly clean and formatted for a mail merge before you send it to the printer. We have an Excel spreadsheet template and a guide to merging names in Word that you might find helpful.
The “Assembly Line”
-
The Pain: Your shipments have arrived. Now, you and your team are facing a mountain of components and hours of manual labour.
The Full Task List
-
Printing the sheets of inserts
-
Cutting the inserts to size
-
Folding them (if required)
-
Stuffing each insert into a plastic holder
-
Un-clipping and re-clipping every lanyard onto every holder
The Last-Minute Guest Plan
-
The Pain: The CEO adds a VIP the night before. A speaker changes their title. It’s inevitable.
-
The Pro Move: Don’t panic; have a system. For an in-depth guide on handling this gracefully, read our article on How to Manage Last-Minute Guest List Changes.
Alphabetical Order: The Final Hurdle
-
The Pain: You’ve assembled all 500 badges. Now you have to lay them out on every flat surface in the office to manually sort them into alphabetical order for the registration desk.

Phase 3: Event Badges and Tags on Game Day & Beyond
By Game Day, your event badges and tags should be alphabetised, accurate, and ready for guests.
The Registration Desk
Have your alphabetised badges laid out on a table. For large events, split the lines (e.g., A-M, N-Z) to prevent queues.
The Aftermath: The Pile of Waste
-
The Pain: Staring at a bin full of single-use plastic holders and synthetic lanyards, knowing it’s all heading to landfill.
-
The Fix: Plan for disposal. Have separate, clearly marked bins for any recyclable components.
Okay, That Was A Lot. There is a Better Way.
Reading that process is stressful enough, let alone doing it. The hidden cost isn’t just in the multiple products you have to buy; it’s in your time, your team’s morale, and your sanity.
What if you could skip 90% of those steps?
This is why Terra Tag exists.
We looked at that entire frustrating process and created an all-in-one solution. With us, your process looks like this:
-
Send us your design (or we’ll help you create one) and your guest list.
-
Open a box.
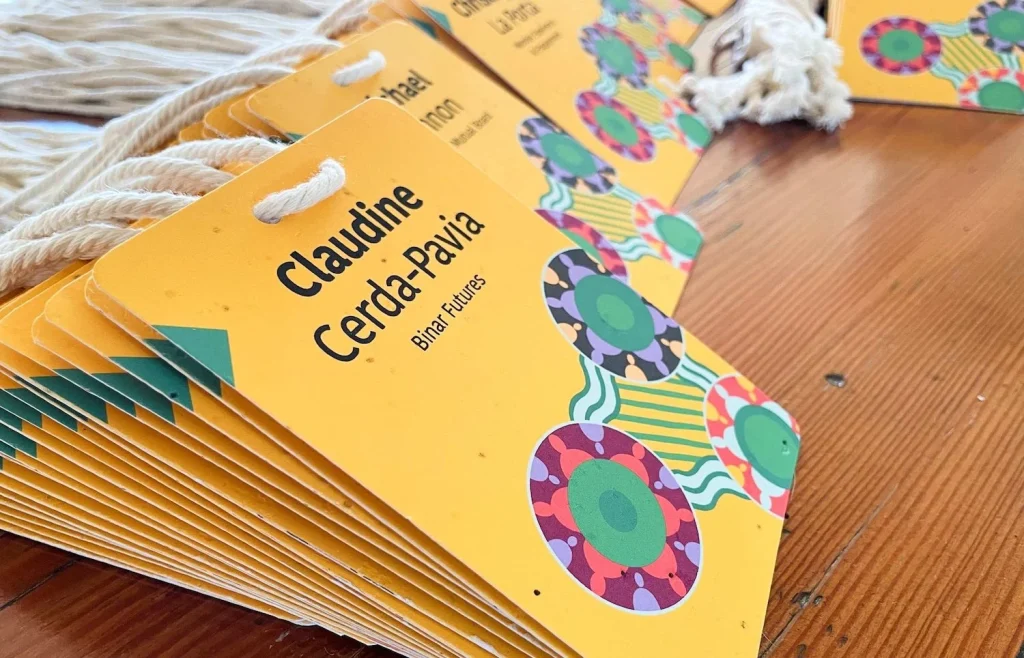
That’s it. Your event badges and tags arrive fully assembled, printed on beautiful, sustainable paper, with biodegradable lanyards attached, already sorted in alphabetical order.
We eliminate the need to source from multiple suppliers. We eliminate the entire “Assembly Line” and costs per component. And we eliminate the pile of plastic waste at the end.
Frequently Asked Questions (What’s Really on Your Mind)
Q: My boss just wants the cheapest option. How do I justify the cost of an all-in-one service?
A: You show them the real cost. Create a simple cost-benefit analysis: “Option A (Traditional): $X for holders + $Y for printing + $Z for lanyards + 10 hours of staff time for assembly. Option B (Terra Tag): One single, predictable cost for a finished product that arrives ready to go.” When they see the value of the time saved, the choice becomes clear.
Q: I’m worried a paper badge won’t look as professional as a plastic one. Will it hold up?
A: This is a valid concern, born from experience with flimsy materials. The reality is that a thick, 300gsm recycled or seed paper badge feels far more premium and substantial than a flimsy plastic sleeve. Our event badges and tags are designed to be durable for 1-2 day conferences and communicates a commitment to quality and sustainability that plastic simply can’t match.
Q: How do I handle last-minute guest list changes with your service? You’ve already printed them!
A: We live in the real world of events—we know lists are never final. That’s why our process includes an optional two-stage print run. We produce your main batch first, and then do a smaller, express run for all your latecomers and name changes closer to the event date. No stress, no handwritten odd-ones-out.