How to Make Your Own Plantable Seed Paper at Home
Updated 1 July 2025
How to Make Plantable Seed Paper
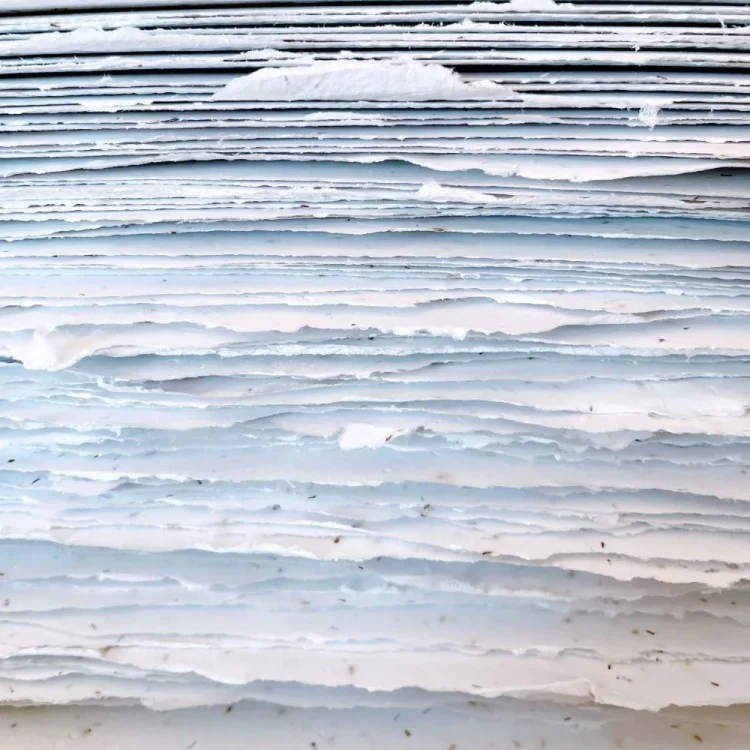
There is something magical about transforming old paper into something new and alive. Learning how to make plantable seed paper lets you recycle waste paper into sheets that sprout flowers or herbs when planted. In this step by step guide, we will walk you through everything about how to make plantable seed paper, from creating the perfect recycled pulp to embedding seeds for beautiful, eco friendly results.
Whether you are crafting cards, invitations, or tags, learning how to make plantable seed paper at home is one of the most sustainable DIY seed paper projects you can do, especially if you have been searching online for how to make seed paper at home or simple DIY seed paper ideas that actually grow. If you decide you would rather skip the mess and begin creating straight away, you can explore our ready made seed paper.
This guide is designed to be the only resource you need. Grounded in the expertise of master papermakers, it walks through every critical step, from creating the perfect pulp to pressing a smooth, strong sheet. You will explore the science behind the craft, troubleshoot the frustrating issues that trip up beginners, and see the small touches that separate good plantable paper from great plantable paper.
By the end you will understand how to make plantable seed paper from start to finish and feel confident making plantable paper for cards, invitations, or art projects at home.
What You Need to Make Plantable Seed Paper at Home
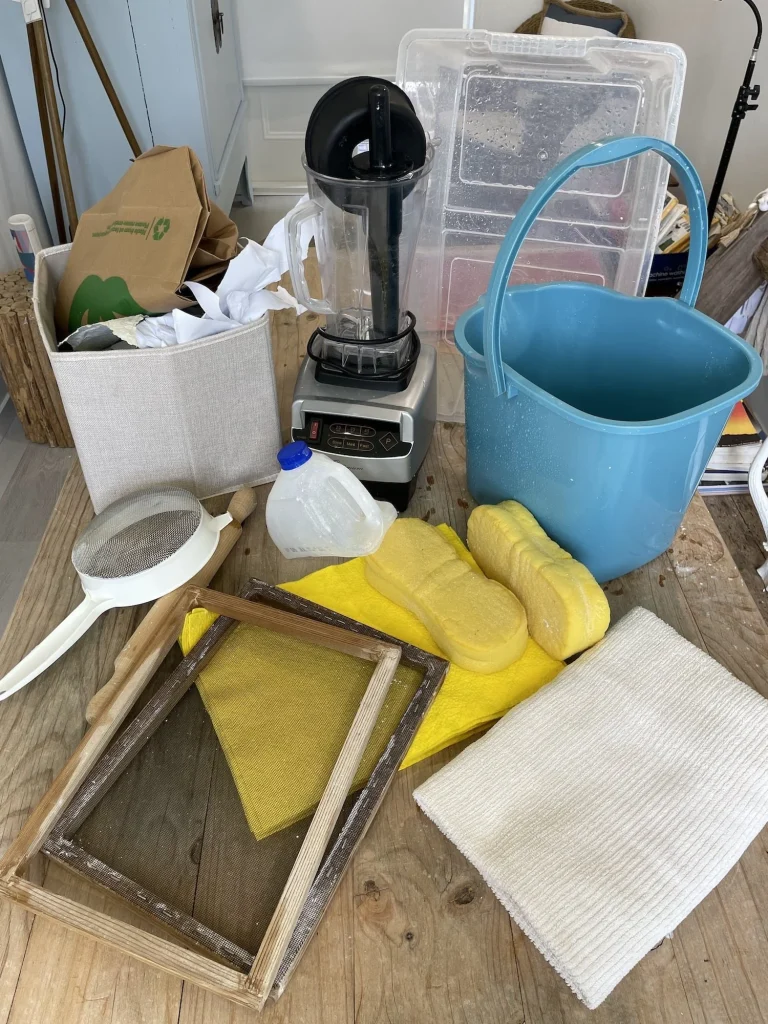
Essential Materials for DIY Seed Paper
Here is the core toolkit you will use every time you make DIY seed paper at home. These eight essentials take you from shredded scraps to beautiful, plantable paper that actually grows.
1 Paper for pulp
The soul of your plantable paper comes from its recycled content. For best results, use uncoated paper such as old letters, office print outs, and paper bags. Avoid glossy magazines. The quality of your recycled materials directly affects the final texture and durability of your DIY seed paper, a core principle explored in our article on the environmental benefits of recycled paper.
2 Water
Water is the lifeblood of the process. You will use it for soaking, pulping, and forming every sheet when you are learning how to make plantable seed paper at home.
3 A dedicated blender
You need a blender to break down the paper fibres into a smooth, consistent pulp. Do not use your everyday kitchen blender, as paper scraps contain chemicals and inks. Pick up a cheap second hand blender from MarketPlace and dedicate it to DIY seed paper projects.
4 Mould and deckle or free form frame
Mould and deckle: This two part frame forms each sheet of plantable paper. A DIY version made from an old picture frame and sturdy mesh is a good start. A dedicated papermaking mould and deckle gives more consistent results once you are making seed paper regularly.
5 Vat or basin
Your vat is the container where pulp, water, and seeds all meet. It must be large enough to comfortably submerge your mould and deckle. A wide plastic tub works well for most home seed paper projects.
6 Couching sheets and boards
In professional papermaking, woven cloths called couching sheets transfer the wet pulp from the mould. At home you can use absorbent felts, flannel sheets, or old towels. Stack your sheets between two flat boards so you can press out the water evenly.
7 Sponges and pressing weight
Soft sponges help you blot away excess water before pressing. Heavy books, bricks, or a proper book press apply the pressure that makes your DIY seed paper strong, smooth, and easy to write or print on.
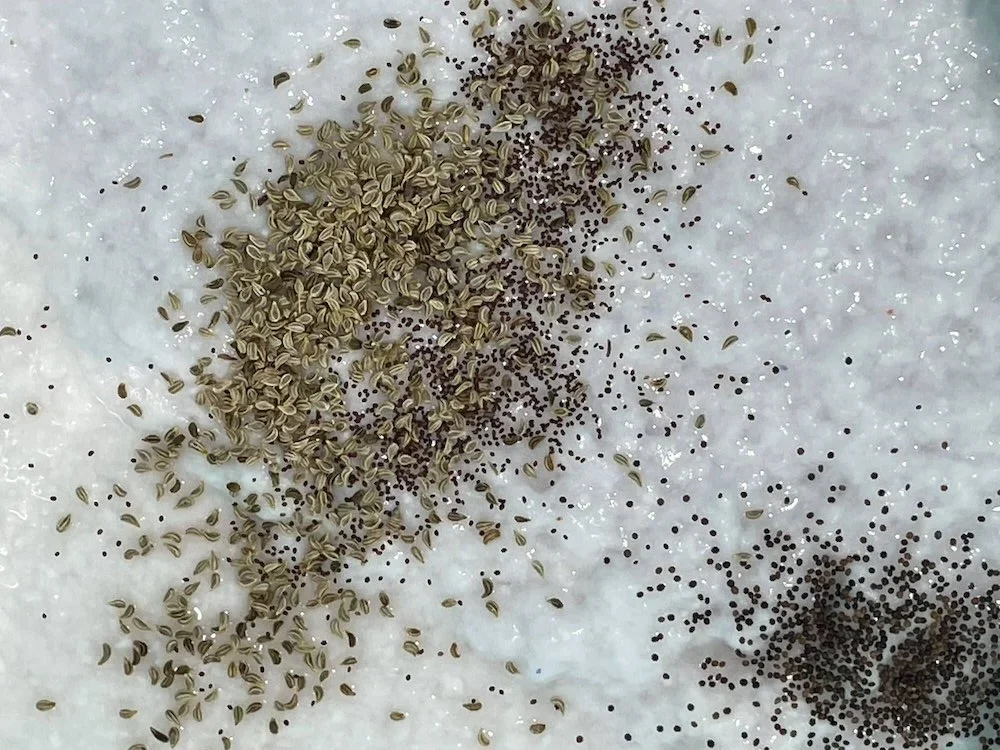
8 Seeds for your plantable paper
The heart and soul of plantable seed paper. Choose small, hardy seeds. For those in Australia, using native varieties can create stunning seed paper that supports local biodiversity. Lemon Scented Bottlebrush or Swan River Daisy are perfect. You can learn more about the types of seeds in seed paper and how they contribute to sustainability.
Choosing the Right Seeds for Plantable Paper
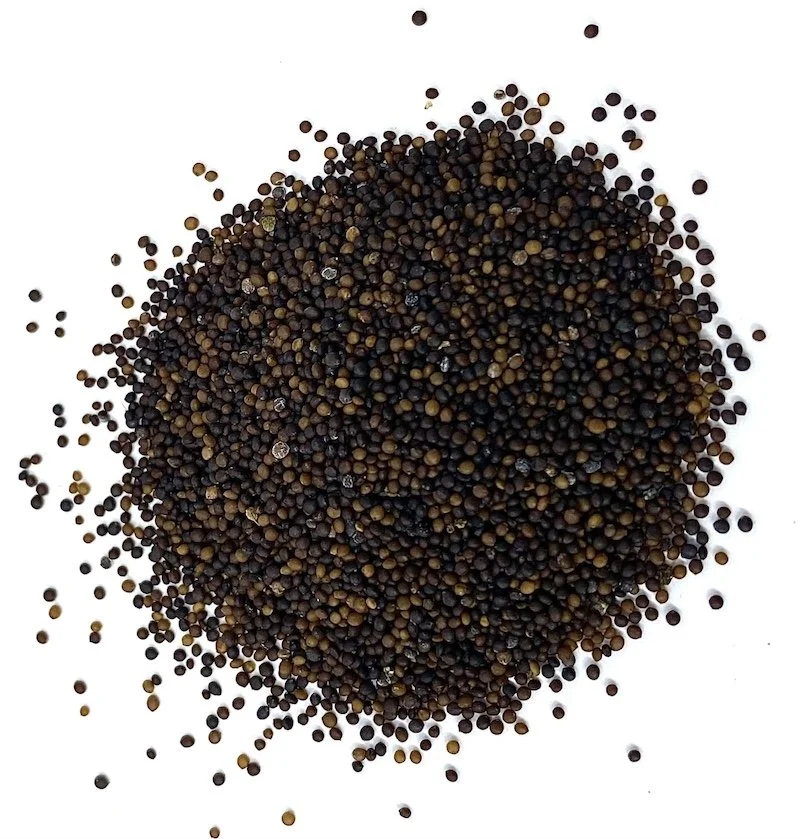
The seeds you choose define your paper’s purpose and potential. They are the difference between plantable paper that really grows and DIY seed paper that only looks the part.
Seed selection
- Opt for small, non invasive seeds with good germination rates. Wildflowers, poppies, basil, parsley, chamomile, and carrots are excellent choices. For projects in Australia, consider native seeds such as Lemon Scented Bottlebrush, as detailed in our guide to seed paper varieties.
Seed to pulp ratio
- Finding the right balance is key. Too many seeds weaken the paper, while too few are disappointing. A good starting point is ¼ teaspoon of seeds per A5 sized sheet. This prevents overcrowding and gives each seed space to sprout.
Avoid
- Large seeds such as beans or sunflower seeds, as they fall out of the sheet, and any seeds that are oily or require very specific germination conditions.
If you would like a deeper dive into collecting and growing native plants from seed, the Australian National Botanic Gardens has an excellent guide on how to propagate Australian plants from seed. It pairs beautifully with this DIY seed paper project.
How to Make Plantable Seed Paper Step by Step
This is the core process for how to make plantable seed paper at home using simple tools, recycled scraps, and the right seeds.
Step 1 Create the perfect pulp
Tear your paper into small, 1 inch squares. Place them in your blender and cover with clean, warm water. Blend for 30 to 60 seconds. Under blending creates weak, patchy paper, while over blending can make it too dense. You are aiming for a smooth, consistent slurry.
Step 2 Charge the vat
Pour your pulp into the vat. Add more water and stir with your hands, breaking up any clumps. The ideal consistency is like thin milk, where the fibres are suspended gracefully in the water.
Step 3 Add the seeds
Gently stir your seeds into the pulp with your hands or a spoon. Never put the seeds in the blender, as this will destroy their viability. You want to distribute them evenly without causing damage.
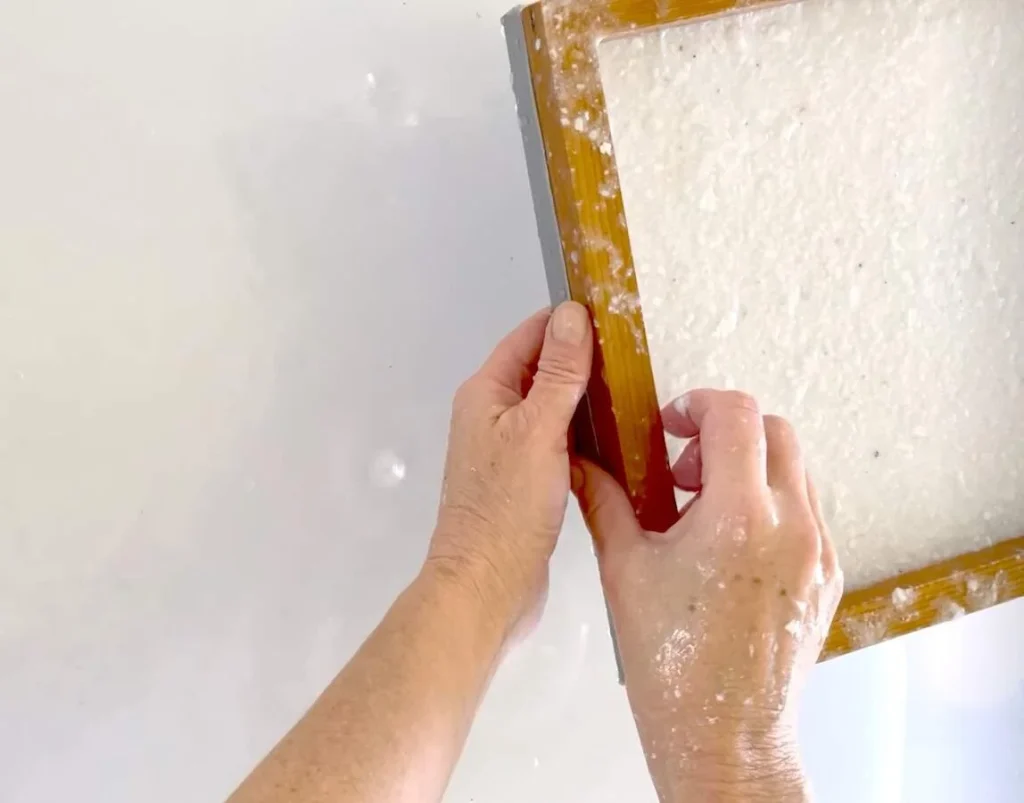
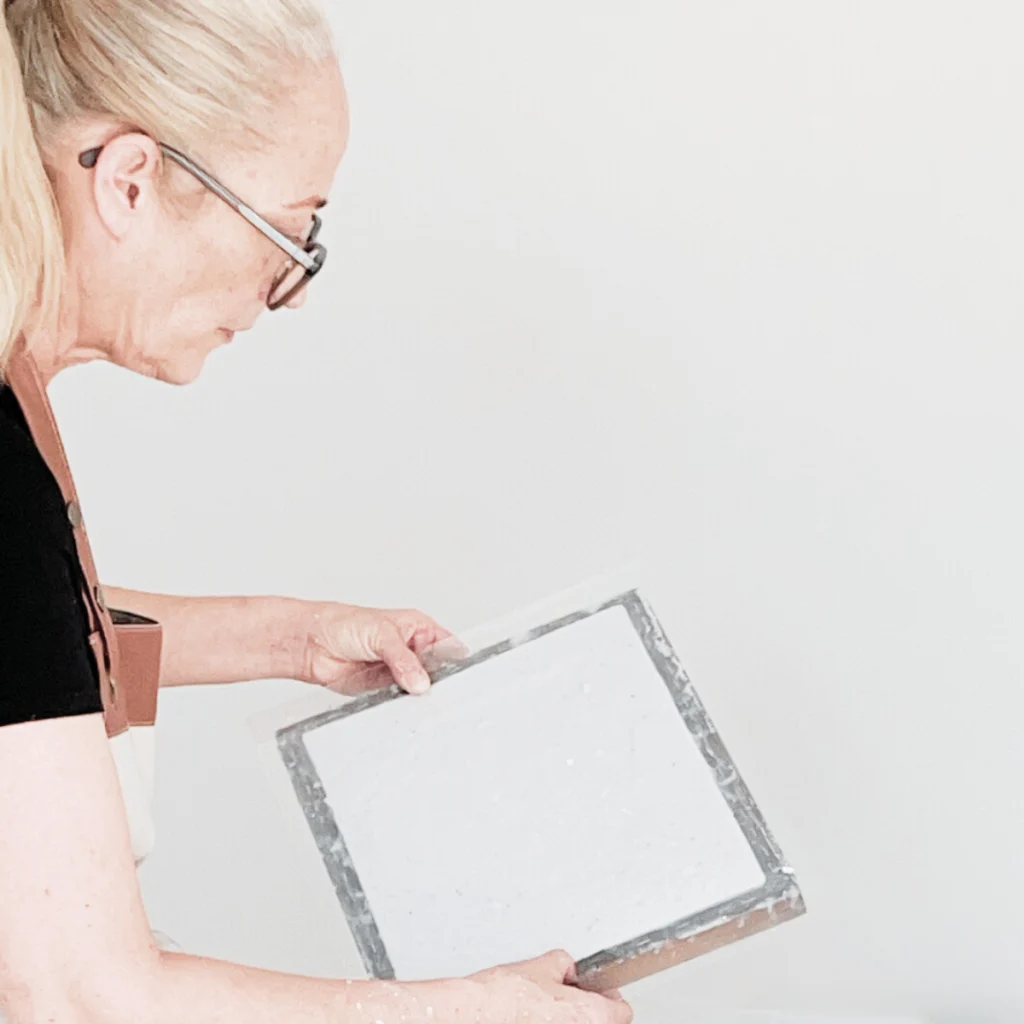
Step 4 Pull the sheet
Hold the mould, screen side up, and deckle together firmly. Dip them into the vat at a 45 degree angle, then level the frame beneath the surface and pull straight up in one smooth motion. Give the frame a gentle front to back and side to side shake to help the fibres lock together evenly on the screen. Let the water drain for a minute.

Step 5 Build your post
After couching each sheet onto its felt or cloth, cover it with another absorbent layer. Repeat the process, creating a stack of paper and felt layers. This stack is called a post.
Step 6 Pressing, the most critical step
Pressing gives handmade plantable paper its strength, stability, and smooth finish. Place your post between two pressing boards and apply even pressure.
Why pressing is non negotiable:
- It removes water. Pressing removes most of the water, preventing warping and dramatically speeding up drying time.
- It bonds the fibres. Forcing the cellulose fibres closer together creates strong internal bonds and a durable sheet.
- It creates a smoother surface. Pressing flattens lumps and bumps, creating a more uniform surface that is easier to write or print on.
- It helps the seeds. For seeded paper, pressing keeps the seeds embedded near the surface, ready for germination, instead of trapped deep in a soggy sheet.
In short, pressing creates plantable paper that is not only pretty but functional. For a deeper look, you can explore the science behind biodegradable and seed paper.
Step 7 Dry the sheets
Carefully separate your damp sheets from the couching felts. Lay them on a flat, absorbent surface such as dry cloths or a drying rack in a well ventilated area. Never use direct heat, ovens, or microwaves, as high temperatures can kill the seeds. Let the sheets air dry completely, which may take one to two days.
Troubleshooting Common Seed Paper Mistakes
Even experienced papermakers run into trouble when they are learning how to make plantable seed paper. Here is how to fix the most common beginner issues.
-
The mistake: incorrect pulp consistency
- The problem: The paper is too bulky, or it is flimsy and falls apart.
- The fix: Aim for that thin milk consistency. If it is too thick, like a smoothie, add more water to the vat. If it is too thin, add more blended pulp.
-
The mistake: uneven sheets
- The problem: Sheets are thick on one side and thin on the other.
- The fix: When you pull the sheet from the vat, make sure your mould is level. Use a gentle side to side shake to distribute the fibres evenly before the water drains.
-
The mistake: trouble with couching
- The problem: The paper rips or sticks to the mould during transfer.
- The fix: Be confident and steady. Press the mould firmly onto the couching felt in one smooth motion and lift away without hesitation.
-
The mistake: warped or curled paper
- The problem: The final dried paper is not flat.
- The fix: This is almost always a pressing issue. Ensure you have pressed out as much water as possible. For perfectly flat sheets, you can restraint dry them by placing the damp sheets between dry cloths and putting them under a board with a light weight.
-
The mistake: dirty or contaminated paper
- The problem: Future batches have mould spots or discolouration.
- The fix: Thoroughly clean your equipment, including vat, blender, mould, and sponges, after each session and allow everything to dry completely.
Pro Tips for Perfect Handmade Seed Paper
Once you know the basics of how to make plantable seed paper, these pro tips help you refine your technique so your handmade sheets look and feel like professional work.
-
Controlling the deckle edge. The beautiful, feathery edge of handmade paper is called a deckle edge. You can control its look. A slower pull with less shake creates a more pronounced, rustic edge. A faster pull with a quick shake creates a finer, more subtle edge.
-
Adding inclusions. Embed pressed flowers, leaves, or colourful threads into your plantable paper. You can mix them into the vat or lay them carefully on the sheet right after you have pulled it, then lightly press them into the pulp before couching.
-
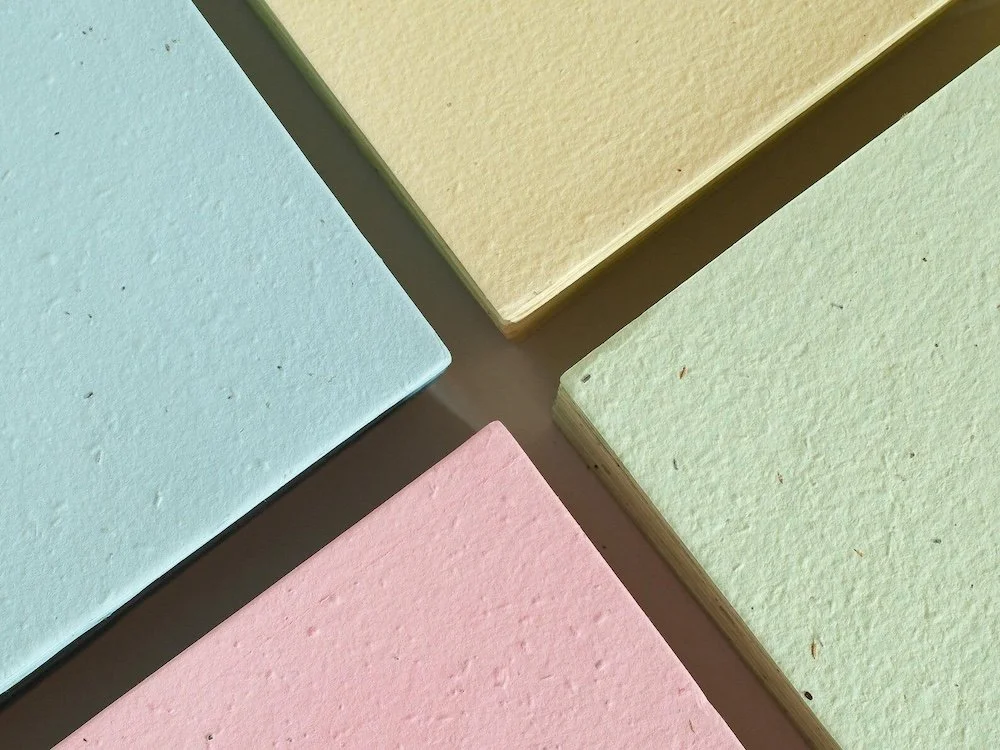
Using natural dyes. Add natural colour such as turmeric for yellow, beetroot powder for pink, or spirulina for green to your pulp after blending. This creates stunning, vibrant DIY seed paper.
-
Reading the vat. As you make more seed paper, the pulp to water ratio in the vat changes. A master papermaker learns to read this change by feel and sight and adapts their technique so every sheet remains consistent.
FAQ: How to Make and Store Plantable Seed Paper
Q: What is the best paper to use for making seed paper?
A: The best paper to use is uncoated, non glossy recycled paper. Old office print outs, envelopes, and paper bags work perfectly. Avoid glossy magazines or flyers as their clay coatings do not break down well into pulp.
Q: Why is my homemade seed paper weak and falling apart?
A: Weak plantable paper usually comes from under blended pulp or from sheets that have not been pressed firmly enough. Pressing is critical because it forces the cellulose fibres to bond together and creates a strong, stable sheet.
Q: Can I use any kind of seeds for my paper?
A: It is best to use small, non invasive seeds such as wildflowers or herbs like basil, oregano, and parsley. Large seeds such as sunflowers or beans are too big and often fall out of the pulp. Always use fresh seed for the best germination rates.
Q: How long will the seeds in my handmade paper last?
A: If you store the finished plantable paper in a cool, dry place away from direct sunlight, the seeds can remain viable for one to two years. The exact time depends on the specific seed types you have used.