How to Plant Seed Paper and Watch an Incredible New Beginning
You’re Holding Something Better Than Plastic
The event you just attended made a better choice for the planet. Instead of the usual plastic name badge and lanyard (which sit in landfill for 500 years), you’ve been given one that will grow into something new. Learn how to plant your badge below.
What You’ll Need
Before you start planting seed paper, gather a few things:
- A pot or garden spot
- No garden? A pot and sunny windowsill work perfectly
- Seed-raising mix or potting soil
- Your seed paper badge
- Water
- A sunny position
How to Plant Seed Paper in 4 Simple Steps

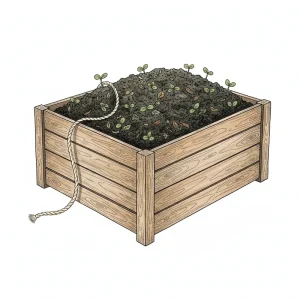
Step 1: Prep the Soil
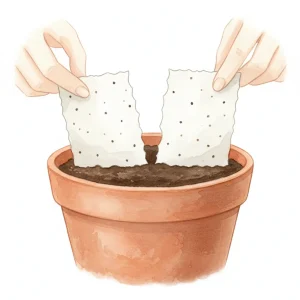
Step 2: Plant the Paper
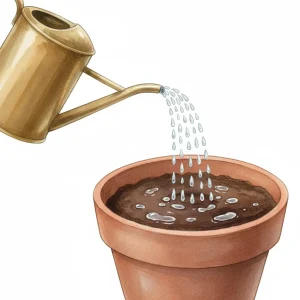
Step 3: Water Well
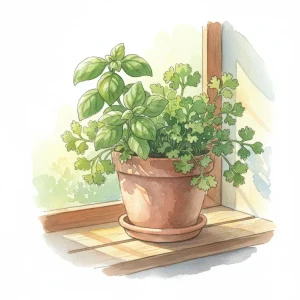
Step 4: Sunshine & Care

How Long Seed Paper Takes to Grow
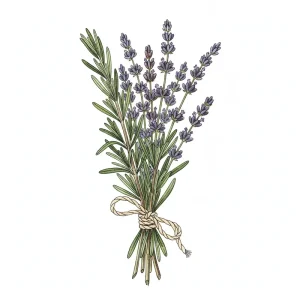
Your Badge’s Second Life 🌼
Terra Tag creates zero plastic name badges and lanyards for Australian events, designed to be planted, reused, or returned to the earth. Every Terra Tag badge has a story beyond the event – plant it, nurture it, and watch it grow into something beautiful.
Curious about nurturing native blooms? Explore Australian Native Plants Society’s guide to growing wildflowers for more inspiration.
How to Recycle or Compost Your Biodegradable Lanyard
Terra Tag lanyards are made from 100% unbleached cotton, so they’re completely biodegradable. Here’s how to dispose of or reuse your Terra Tag lanyard responsibly after the event:
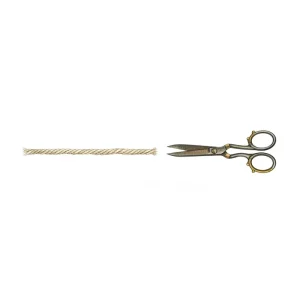
Step 1: Remove the Cotton Neck Cord
Step 2: Compost it
Step 3: Or give it a second life
Step 4: Recycle or Compost the Badge Paper
Thank You for Closing the Loop
Every Terra Tag product is made to grow or return to the earth. By following this simple guide on how to plant seed paper, you’ve helped close the loop and make events more sustainable. We think that’s pretty brilliant.
Reach out to the Terra Tag team – we’re always happy to help make the most of our products.