How to Print Name Tags for Events
Conference badge production guide
How to Print Name Tags for Events
The printing name tags workflow behind 180+ analysed badge designs, 560 merged badges in 30 seconds, and 100 badges placed into print layout in under 9 minutes.
Trusted by event teams worldwide
Updated 18 June 2026
Printing name tags needs a production workflow
Most event badge production problems happen after the design is approved.
Printing name tags for events gets difficult after the design is approved. This guide shows how to move from guest list to print-ready layout without rebuilding badges by hand.
The layout looked good on screen. The guest list came in late. The names do not fit. The print file scales wrong. The deadline is tomorrow.
This guide covers the complete event name tag printing workflow, from setting up your badge template to running a print-ready batch, so those problems get resolved before they become emergencies.
If you need to print conference name badges, print conference name tags, or prepare printable event badges from a spreadsheet, the workflow below gives you the production order to follow.
Section 1
Why printing name tags for events is harder than it looks
Designing one conference badge takes about ten minutes. Producing 150 accurately, under deadline pressure, with a guest list that changes three times, is a different task.
Event name tag printing requires a conference badge workflow, not just a design file. The workflow has to solve:
Changing data
Guest list data in a spreadsheet that changes until the morning of the event.
Name fit
Names that are longer or shorter than the template was designed for.
Layout alignment
Front and back layouts that need to stay aligned through export and print.
Print scaling
Print settings that must stay at 100% actual size, not fit to page or shrink to fit.
Section 2
Create and print badges in six clear steps
Use the same printing name tags process every time, from confirming the badge setup to preparing the final files for print.
Step 1: Prepare
Confirm badge size, print method, lanyard attachment, guest list source, and front/back content.
Step 2: Design
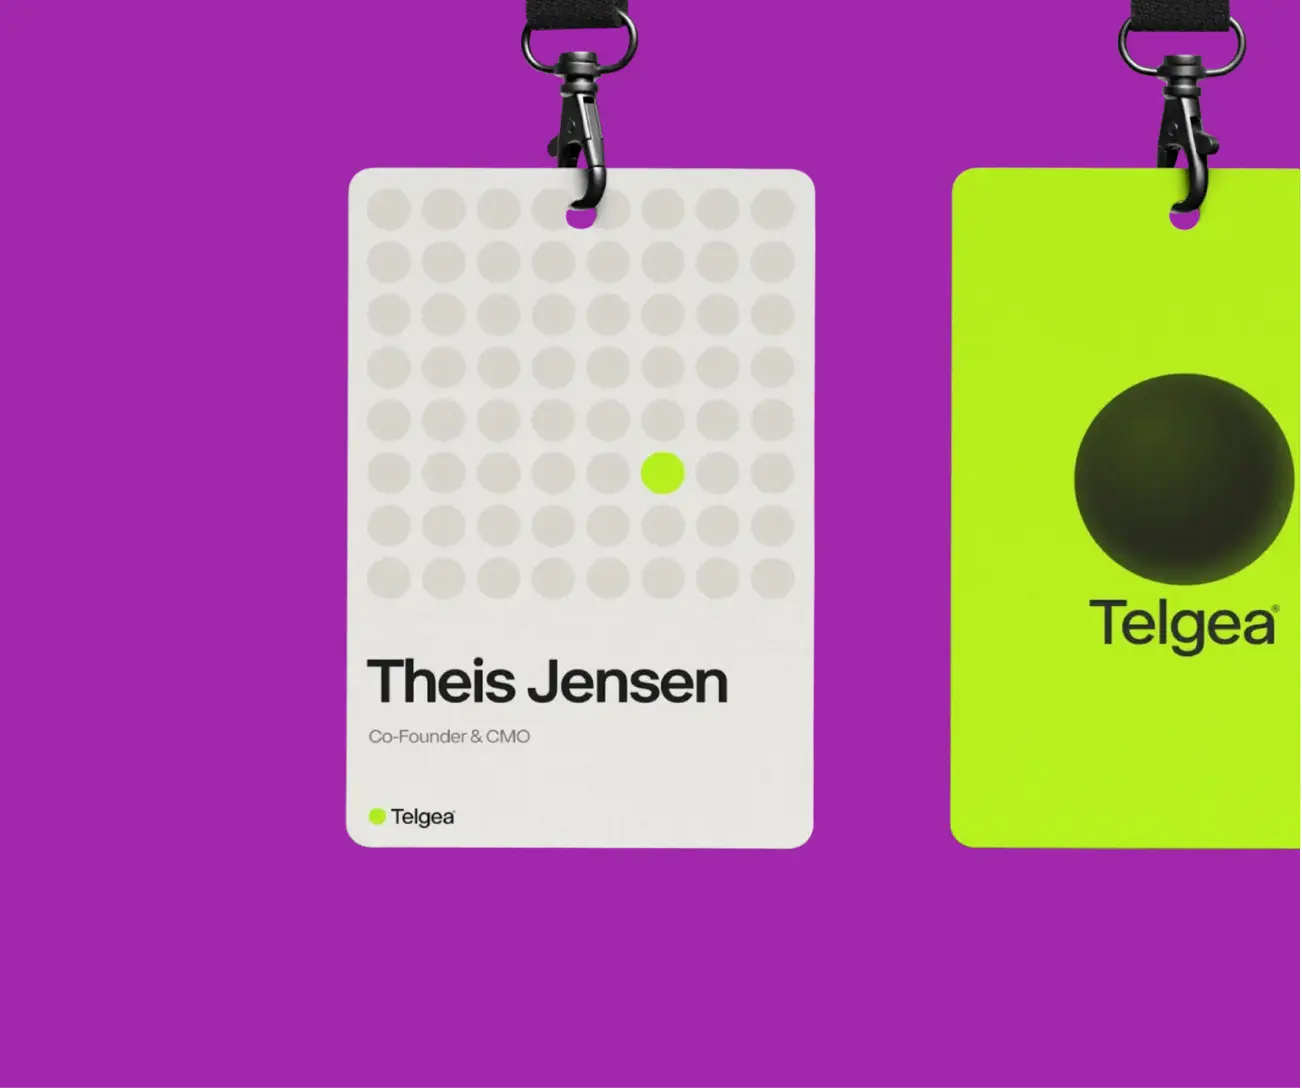
Apply event branding while keeping the first name as the dominant recognition layer.
Step 3: Guest Merge
Prepare the spreadsheet, match merge fields, and generate one badge per attendee.
Step 4: Front Layout
Create print-ready badge fronts with correct size, spacing, and scale.
Step 5: Back of Badge
Add QR codes, sponsor grids, agendas, maps, or utility information only when needed.
Step 6: Print
Export the final file, print one physical test, and confirm 100% actual-size output.
Start with size
Choose A7 or A6 before production begins
Badge size affects name fit, holder compatibility, print layout, and the number of badges per sheet.
Read the Size GuideSection 3
Step 3: guest merge
Prepare the spreadsheet and merge attendee data into the badge set. This is the name badge merge stage, where spreadsheet data becomes one badge per attendee and printing name tags becomes a repeatable workflow.
Confirm before moving on:
- Column headers match the badge template’s merge fields
- First names and last names are in separate columns
- Names are formatted consistently, with no all-caps guest data
- Long names have been reviewed and will fit at the minimum font size
- Missing or incomplete entries are cleaned before the merge runs
- Merged badges are visually checked before the full batch is generated
This is the step where most errors enter the production workflow. A name that was fine in the spreadsheet can look wrong on the badge: truncated, split across lines incorrectly, or formatted inconsistently with surrounding names.
Section 4
Step 4: front layout
Generate the print layout for badge fronts. At this stage the workflow shifts from design to print control, so you can print event badges from approved designs instead of placing each name manually.
Confirm before moving on:
- Badge sizing is correct and has not been scaled
- Spacing is consistent across all badges
- Nothing has shifted during layout generation
- The layout matches the correct badge size
- A sample PDF has been reviewed at 100% actual size before printing
The goal is a print-ready PDF that produces exactly what was approved.
Section 5
Step 5: back of badge
Generate the back layout if utility content is required. Not all events need a back layout. If the back is only being used for a QR code and a disposal instruction, keep it simple.
Confirm before moving on:
- QR codes scan after printing at actual size
- Sponsor grids are readable and grouped correctly
- Utility information is simple, scannable, and uses a clear sans serif font
- Alignment-sensitive content has been tested with a physical print
Back layouts become cluttered quickly. Use the back only for content that genuinely serves the attendee.
Section 6
Step 6: print
Export the final print-ready file and test before running the full batch. Printing name tags from a tested file is safer than trusting the screen preview.
Confirm before printing the full batch:
- Print scaling is set to 100% actual size, not fit to page or shrink to fit
- QR codes scan on a test print
- Colour and contrast hold up in print, not just on screen
- The first name passes the 3 metre recognition test on a physical print
- At least one physical sample has been reviewed before running the full batch
A screen preview is not a print test. One physical test badge costs seconds. A batch of 150 mis-printed badges costs significantly more.
Section 7
The 100 badge batch rule
Run print batches in groups of up to 100 badges.
This keeps the file manageable, supports quality control, and stays within Google API limits. It also means a correction affects a controlled batch, not the entire event set.
For events over 100 attendees, split into batches by surname initial, session, or attendee type.
Section 8
The two-batch guest list workflow
Do not wait for a perfect guest list before starting production. For most events, the reliable approach is to run two controlled batches.
90% guest list certainty
Clean spreadsheet, confirm badge fields, and run the main merge.
Batch 1: main attendee set
Produce the first print-ready layout in controlled groups of up to 100 badges.
Late changes window
Collect new registrations, spelling fixes, substitutions, and role changes.
Batch 2: final additions
Run the second merge/layout batch and print only the late-change set.
Section 9
DIY printing vs print bureau
Both are valid. The right choice depends on your printer, batch size, and event stakes.
| DIY home or office printer | Commercial print bureau | |
|---|---|---|
| Cost per badge | Lower for small batches | Lower for large batches |
| Paper quality | Standard office card stock | Higher GSM options available |
| Colour output | Adequate for most events | Better for saturated colours |
| Setup effort | Print from your own file | Submit print-ready PDF |
| Best for | Under 200 badges, standard corporate events | 200+ badges, high-stakes events, heavy stock |
| Turnaround | Immediate | Typically 2-5 business days |
The Conference Name Badge Design Kit includes separate production workflows for both paths. The design file, guest merge, and layout generation are identical. The export settings differ.
Section 10
What is the easiest way to make conference badges for 200 people?
The easiest reliable method is a production workflow that connects your guest list to your badge template and generates print-ready layouts automatically. This is how to make conference badges from a spreadsheet without copy-pasting names one by one.
The Conference Name Badge Design Kit does this using Google Slides and Google Sheets:
- Paste your Google Sheet ID into the workflow
- Run the merge: 560 badges processed in 30 seconds
- Generate print-ready badge layouts in controlled batches
- Place 100 badges into a print layout in under 9 minutes
- Export as PDF and print
How do I merge a guest list into conference name tags?
Prepare your guest list in Google Sheets with one column for each badge field: first name, last name, organisation, job title, and any other fields your template uses.
When the guest list changes, update the spreadsheet and run a second controlled batch for late registrations, spelling corrections, role changes, and final additions.
How to automate name badge printing
Name badge printing is automated by connecting a badge template to a guest list with an automated merge and layout generation workflow. The automation handles reading the guest list, populating badge templates, generating print layouts in batches, and outputting print-ready PDFs.
The workflow runs inside Google Slides and Google Sheets, so the conference badge production process stays inside familiar browser-based tools.
Design system
Use the full conference name badge design system
For the readability rules, hierarchy, layout patterns, and production decisions behind the kit, read the complete Conference Name Tag Design System.
Read the Design SystemSection 11
Conference badge production FAQs
How do I print name tags for an event from Excel or Google Sheets?
Export your attendee list as a Google Sheet with one column per badge field. Use a merge workflow to connect the sheet to a badge template. The Conference Name Badge Design Kit workflow is built to merge guest data and generate print-ready layouts in controlled batches.
What print settings should I use when printing name tags?
Set print scaling to 100% actual size. Do not use fit to page or shrink to fit. Select the paper size that matches your badge layout, print one test badge or sheet, then verify QR codes, font size, colour, and alignment before approving the full batch.
How many conference badges can I print at once?
Run batches of up to 100 badges for file performance, quality control, and Google API limits. Larger events should be split into controlled batches by attendee group, surname initial, session, or registration stage.
What is the best paper for printing conference name tags?
Use 200-250 GSM card stock for DIY printing. Standard 80 GSM office paper is too flimsy for badges worn on a lanyard. For commercial printing, most print bureaus offer 300-350 GSM options for a more substantial result.
How do I handle last-minute changes to a conference guest list?
Run the first batch when the guest list is about 90% certain, then run a second batch for late registrations, spelling corrections, substitutions, and role changes. This keeps last-minute changes contained instead of forcing the whole badge set back through production.
Can I print conference badges at home?
Yes. An inkjet or laser printer with A4 card stock can produce adequate results for many corporate events. Use the correct print layout, set scaling to 100% actual size, and test one sheet before running the full batch.
About
About Terra Tag
Terra Tag is an Australian sustainable event products company. We have produced more than 130,000 conference name tags for corporate, government, education, and not-for-profit events.
The Conference Name Badge Design Kit packages the same production workflow into a reusable Google Slides-based system any team can run, with no design experience and no paid software. The Kit is launching August 2026.
A conference badge is small, but it carries one of the most important jobs at an event: helping people recognise each other quickly enough to start a conversation.