DIY Name Badge Kit Instructions
Looking for a stress-free way to make professional, planet-friendly name badges in-house? Our DIY name badge kit is the perfect solution. Whether you're prepping for a last-minute event or prefer to keep things in-house, this eco-friendly badge kit lets you print your own name badges quickly, easily & without compromising on style or sustainability.
What You'll Need:
Your Terra Tag DIY Name Badge Kit
Computer with PowerPoint, Word, or Canva
Backloading inkjet printer
Scissors or corner cutter (included in your kit)
Hole punch (included in your kit)
This easy name badge solution is perfect for events where you need professional results on a tight schedule. Creating beautiful event badges that hit eco goals is easy—no design experience needed!
Create Name Badges
In 3 Simple Steps
Step 1: Design Your Event Badges
1) Design Support
Easy-to-use Templates
PowerPoint:
Gives you the layout & a few ideas to get you going
Canva:
Customise colours, fonts & add guest names easily online.
Prefer Microsoft Word?
Follow our easy step-by-step guide: How to Create a Name Badge Template in Word
2) Helpful Guides for Designing Great Badges
3) Printing information
Each A4 sheet will produce:
8 x A7 event badges
4 x A6 event badges
If your printer can print borderless (to the edge of the page), design right to the edge for a professional look.
If your printer can't print borderless, leave a small margin or consider our professionally Seed Paper or Recycled Paper event badges —we'll print edge-to-edge for you!
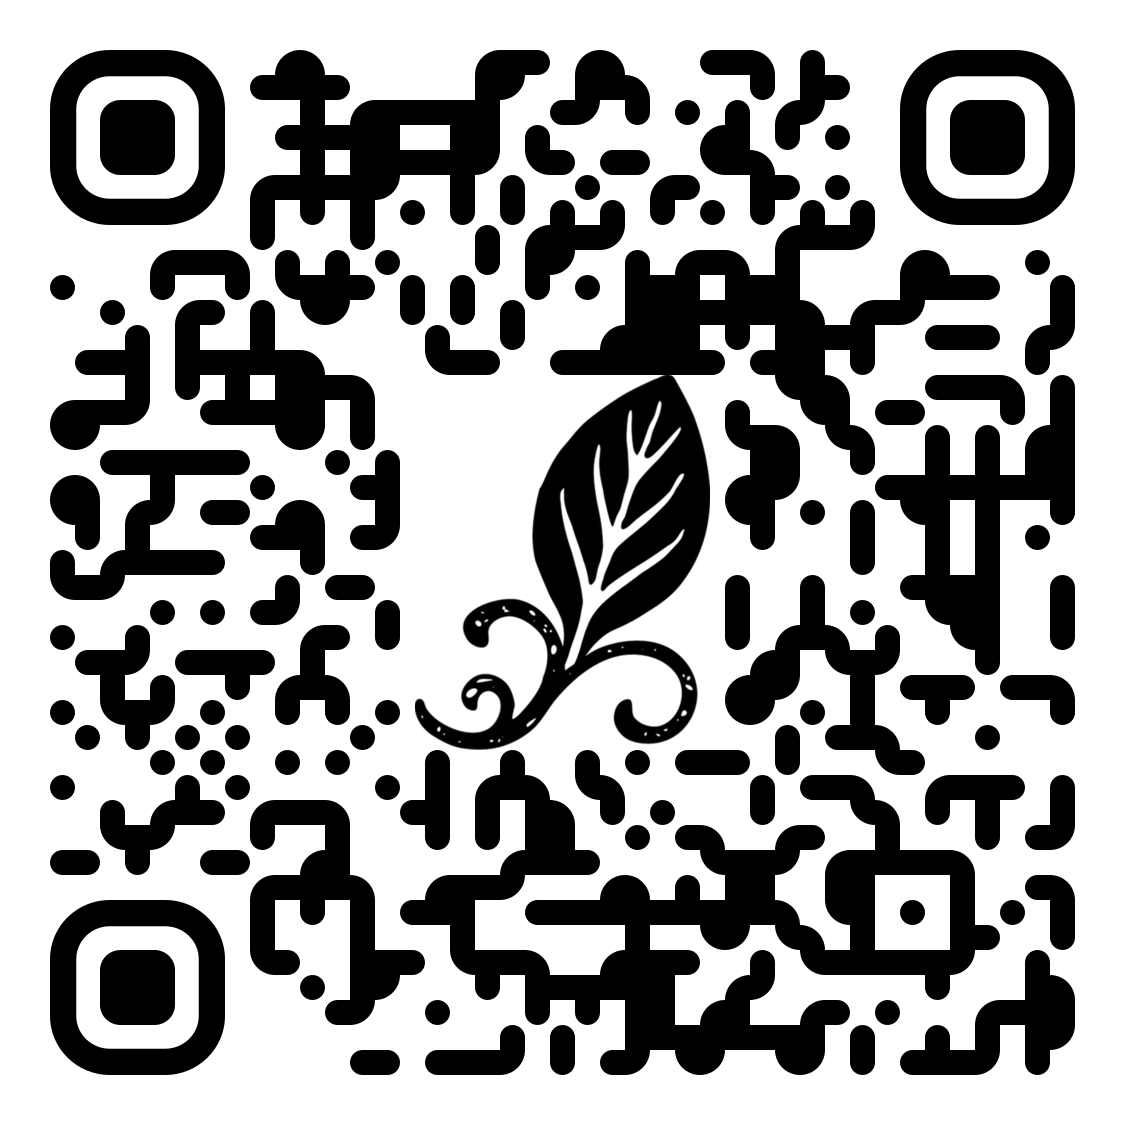
Add QR Code, that leads to recycling & planting instructions to the back of each badge. Right-click the QR code image on this page, save it to your desktop, then insert it into your back of badge design. Don’t forget to add text under the QR code to let guests know what to do:
I'm plantable! Scan to grow (seed paper)
Recycle me! Scan for how (recycled paper)
DIY Kit Video Instructions
QR Code for back of name badge
Planting & Recyling Instructions QR Code
Step 2: Print Your Event Badges
Follow these printing tips:
Always do a test print on regular paper first to check alignment & colours
Set your printer to ‘Best Quality’ & select ‘Thick Paper or card stock’ settings
Load your DIY badge paper carefully into the back-loading tray
Hit print. Then flip the page over & repeat the process for the back of badge design
Whether you're prepping for a small internal meeting or a large-scale conference, this process ensures consistent, professional results—especially handy if you need to print your own name badges last minute.
Step 3: Assemble Your Badges
Now the easy (& satisfying) part:
Cut out your printed badges along the guidelines
Use the included round corner cutter for professional-looking edges
To punch consistent holes, first use one badge as a template. Line up the template with each new badge, marking or directly punching through the guide holes to keep every badge uniform
Attach your badges to our biodegradable cotton lanyards.
You're done! This self-assembly badge kit is ideal for those who want complete control & customisation.
FAQ & Helpful Tips
-
It depends on your badge size!
A7 size: 8 badges per A4 sheet
A6 size: 4 badges per A4 sheet
Just figure out how many sheets you need when ordering & add a few extra for any oopsies!
-
They’ll genuinely look professional—promise! We've provided easy-to-use templates, clear instructions & artwork guidelines specifically to ensure your badges look polished & event-ready. No one will guess they're DIY.
-
Mistakes happen. It’s totally okay. We strongly recommend doing a test print on normal paper first, to ensure alignment & quality. Once you're happy, print confidently on your badge paper. Follow our Artwork Guidelinesto ensure great results.
-
To avoid uneven holes, create a simple hole template using one badge first. Align your template carefully over each new badge before punching. This guarantees professional, consistent results every single time.
-
Yes & no. The badge paper & biodegradable cotton lanyards are fully compostable—worms love them! You can even repurpose lanyards creatively (they make charming gift bows). The metal hole punch & corner cutter aren’t compostable or recyclable, but they're reusable for future projects.
-
Absolutely! We’re here to support you. Just contact us directly or explore our blog for additional tips, templates & reassurance.


